Save Pinterest Videos to Instagram: Free Guide 2026
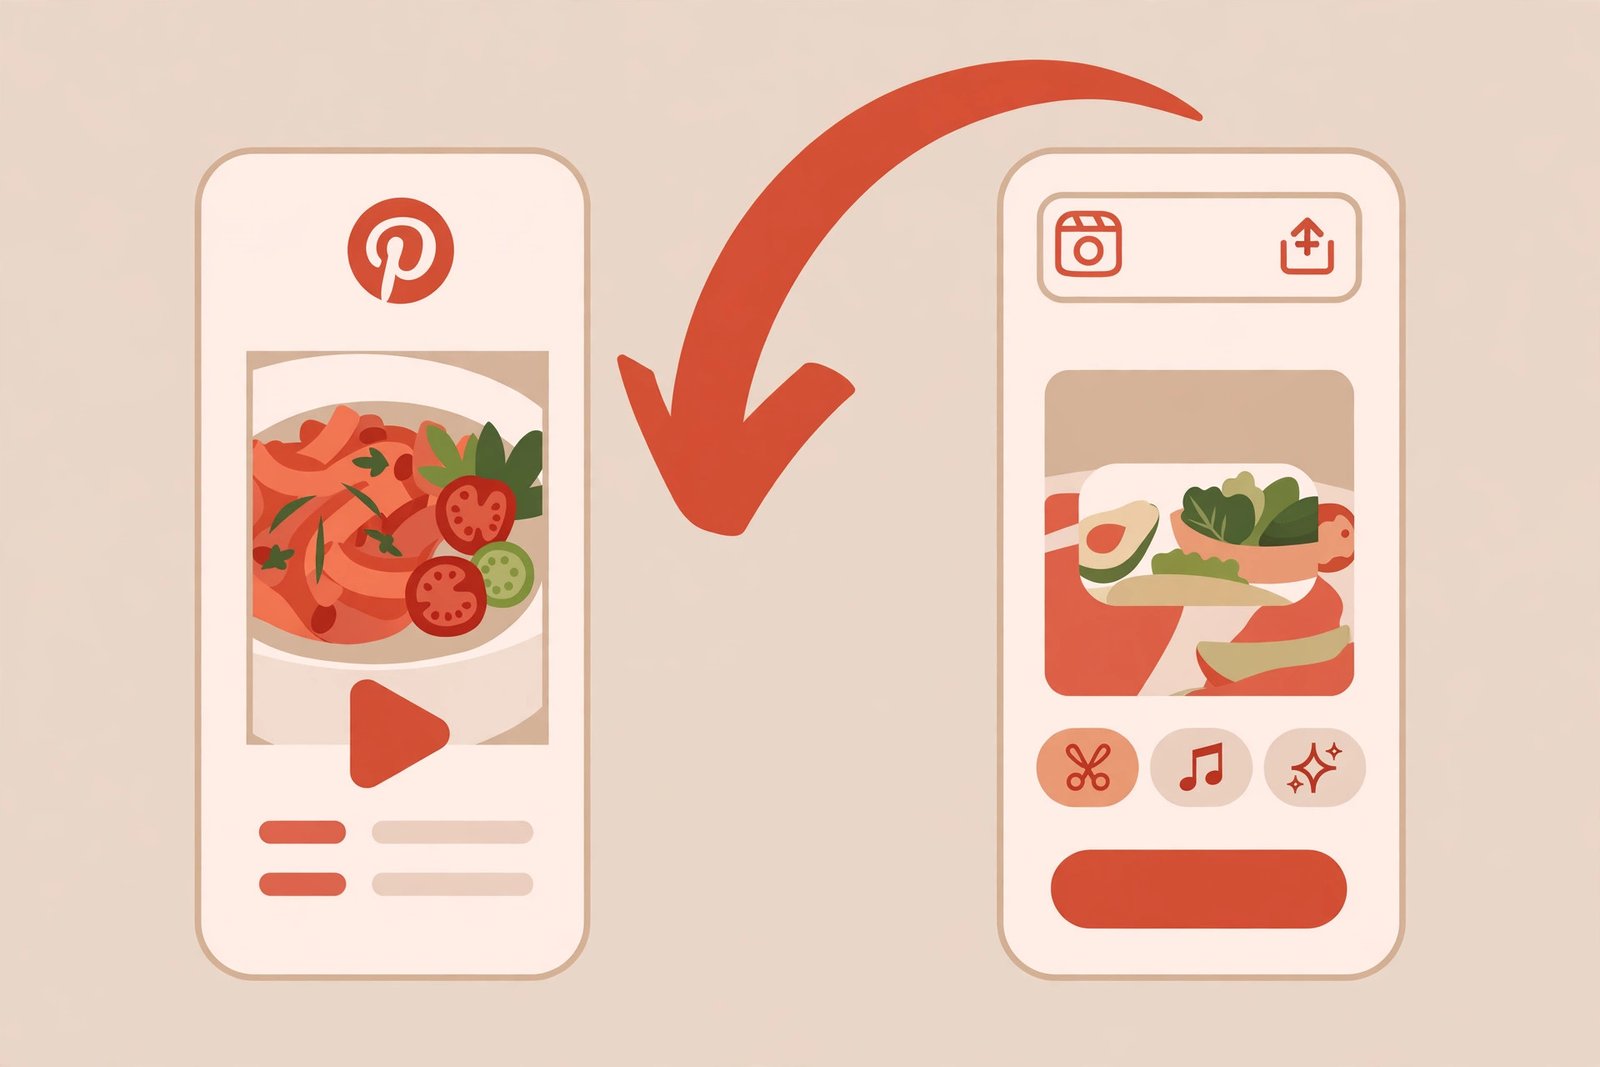
You find a video on Pinterest — a 51-second recipe that actually looks doable, a home repair trick, a workout, a travel clip that makes you want to book a flight — and the person who needs to see it does not use Pinterest. They live on Instagram. They scroll Reels over breakfast, they watch Stories before bed, and if you send them a Pinterest link they will tap it, hit a login wall, and never watch the video. To save Pinterest videos to Instagram, you first pull the real video file out of Pinterest, and only then put it on Instagram — as a Reel, a Story, or a feed video, depending on who it is for. This guide walks through the whole move, including the two decisions that decide whether your video looks crisp or comes out soft, cropped, and silent — and the copyright line you should not cross.
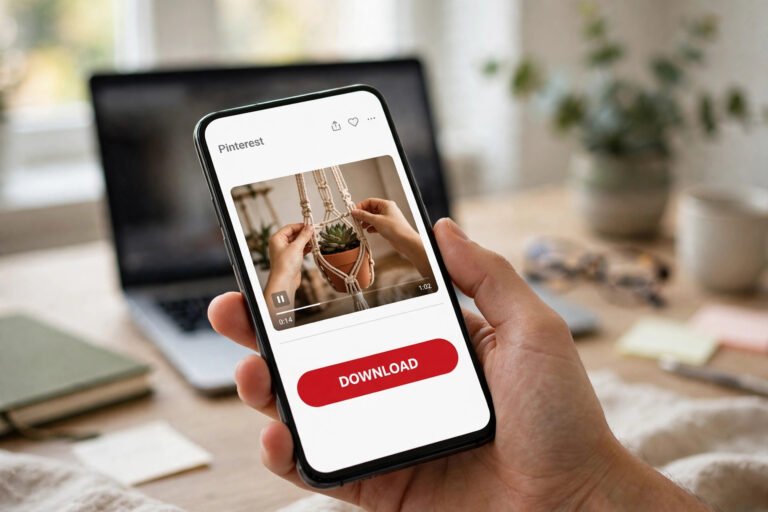
Short answer: copy the video pin’s link, download the MP4 with PintoDownload (free, no signup, no watermark), save that file to your phone’s camera roll, then upload it to Instagram and pick Reel, Story, or feed first — because each one treats your video differently. The first video takes about five minutes; after that, each one takes under two. The rest of this guide explains how to choose the right placement, how to keep the quality Instagram would otherwise squeeze out of it, and what to do when an upload misbehaves.
Why Instagram Is Where Pinterest Videos Get Their Second Life
Think about who you actually want to show a Pinterest video to. For most of us it is not a Pinterest audience — it is a friend who sends you Reels all day, a sibling who lives in Stories, a parent who finally learned how to watch a Reel last month, or the followers of a small business account. Instagram has more than two billion monthly users, which means the person you have in mind almost certainly already has it, already knows how to open a video in it, and does not need a new account, a new app, or a link that opens a browser tab they will close by accident.
There is a second reason, and it matters more than the first. Pinterest is a discovery app, not a sharing app. A video you “save” on Pinterest is a bookmark on a board inside the app, behind your login, on Pinterest’s servers. The day the creator deletes that pin, your saved video goes with it, and there is no file anywhere to show for it. A video you post on Instagram is a file you own a copy of, sitting where the people who need it can actually watch it — in their Reels feed, in a Story their friends tap through, or on your profile grid.
But honesty first, because this guide is only useful if you know what Instagram does to a video. Instagram recompresses every single upload. It does not matter how good the file was when you downloaded it — Instagram will squeeze it down to its own bitrate, crop it to its own frame, and in one specific case (licensed music) it can strip the sound entirely. None of that is a reason not to do it. It is a reason to do it in the right order, with the right file, and to pick the right placement before you tap upload. That is what the next sections are for.
I Tested This Myself This Morning — Here Is What Actually Happened
I do not trust a guide I have not run myself, so before writing this I took a real video pin and ran it through the whole process on the morning of 8 November 2026. The pin was a public recipe video on a board called “Recipes to cook” — 51 seconds of crispy breaded chicken strips being sliced open, 107 reactions, the creator’s watermark visible in the corner. Nothing staged, nothing hand-picked to make the tool look good.
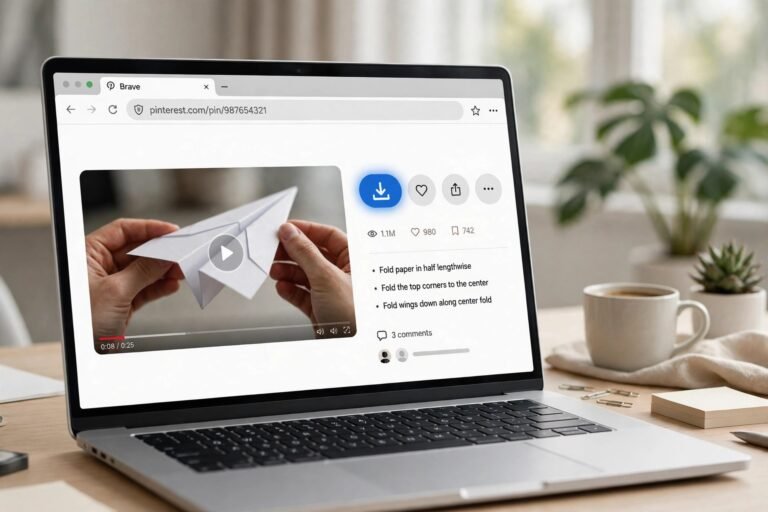
The first thing I learned: the tool is not perfectly consistent. I pasted the pin link into PintoDownload and clicked Download Video, and within a few seconds it answered with an error — “No video found on this Pinterest post. Try a different URL.” Same link, same pin, same minute. I pasted the identical URL again, and the second time it worked. A full video preview appeared — not a thumbnail, the actual video, playing in the browser with play/pause, mute, a scrubber showing 0:51, and a fullscreen button. From paste to ready took about 15 seconds on the successful attempt. If you hit that error on your first try, do not go looking for a different pin or a different tool. Paste the same link again. In my test, the retry worked immediately.
The second thing I learned: there is no quality menu. The tool does not ask you to pick 720p or 1080p or 4K, and it does not show a file size. There is one Download Video button, and the file behind it is a plain MP4 served from Pinterest’s own media host — the link ended in “_720w.mp4”, which is Pinterest’s 720-wide version of the clip. That is the honest limit of the method: you get the file Pinterest serves, at the quality Pinterest serves it. For a 51-second recipe clip that is plenty — it looked sharp on a phone screen — but nobody should promise you 4K from a pin that was never uploaded in 4K, and this tool does not pretend otherwise.
The third thing: clicking Download Video did not start a file download in the desktop browser. It opened the MP4 in a new tab, where the video simply played. On a phone that behaves differently — long-press the video and tap “Download video” or “Save video”, or use the share menu — and on a computer you right-click the playing video and choose “Save video as”. That is a small extra step, and it is the step most people miss. The full download, then, is two taps, not one: the button on PintoDownload, then the save action on the video itself.
Two more observations worth recording. There were no pop-ups, no fake download buttons, no redirect maze, and no ad that tried to install anything — the page stayed on the tool the whole time, which is not something I can say for most of the downloader sites I have tested over the past month. And the site itself was fast: the homepage answered in about 1.4 seconds and the tool page in about 1.8 seconds when I checked them directly. Those are the real numbers from this morning, not a marketing claim.
How to Save Pinterest Videos to Instagram, Step by Step
Here is the whole process, phone-first, because that is how most people will do it. The computer version is the same, with right-clicks instead of long-presses.
Step 1: Copy the video pin’s link
Open the Pinterest app and tap the video pin to open it full-screen. Tap the Share icon (the arrow at the bottom), then tap “Copy link”. The link will look like a normal pin URL or a short pin.it link — both work the same. If the Share menu shows a “Download” option, that means the creator has switched on video downloads for that pin; you can use it, but know that the file it saves carries the creator’s username as a watermark. For a clean file, copy the link instead.

Step 2: Download the MP4 with PintoDownload
Open your browser and go to PintoDownload. Paste the link into the box and tap Download Video. Wait for the preview — about 15 seconds in my test. If you see the “No video found” error, paste the same link and try again; the retry worked for me on the first attempt. When the preview appears, tap the Download Video button. On your phone, the video will open in a new tab: long-press it and choose “Save video” or “Download video”. The file lands in your Photos app (iPhone) or Gallery (Android). On iPhone, if a browser download seems to vanish, check the Files app under Downloads first — browser downloads go there, and from the file you tap Share, then “Save Video” to move it into Photos.
Step 3: Get the file into your camera roll
This step sounds trivial and it is the one that silently breaks the whole process. Instagram can only upload videos that are in your camera roll — it cannot see a file sitting in a browser’s Downloads folder. So before you open Instagram, open Photos or Gallery and confirm the video is actually there, plays with sound, and is the right clip. If it is not there, you skipped the long-press save in step 2. Thirty seconds of checking here saves five minutes of confusion inside Instagram.
Step 4: Upload to Instagram — and pick the placement first
Open Instagram, tap the + in the middle of the bottom bar, and choose the video from your camera roll. This is the decision point: Reel, Story, or feed post. Do not just tap the first option. The three placements treat the same file very differently, and the next section is the whole reason this guide exists.
Reel vs Story vs Feed: Pick Before You Upload
Every Pinterest video forces the same choice, and most people make it by accident — they tap whatever Instagram shows first. The placement you choose when you save Pinterest videos to Instagram decides how the file is cropped, how long it can run, and who sees it. Here is what each placement actually does with your file, with the 2026 numbers.
| Placement | Best for | Max length | Shape | Stays up? |
|---|---|---|---|---|
| Reel | Reaching people who do not follow you; recipes, DIY, travel | 15 minutes uploaded from camera roll (90 seconds if recorded in-app) | 9:16 vertical, 1080×1920 | Yes, on your profile grid |
| Story | Friends and followers only, quick shares, “look at this” | 60 seconds per segment (longer videos split automatically) | 9:16 vertical, 1080×1920 | 24 hours, unless saved to a Highlight |
| Feed video | Your own permanent posts | Under 15 minutes becomes a Reel automatically | 4:5 portrait (1080×1350) or 9:16 | Yes, on your profile grid |
For almost everyone reading this guide, the answer is Reel. A Reel is the only placement that puts the video in front of people who do not follow you yet, it stays on your grid permanently, and it is the format Instagram is actively pushing. A Story is the right call when the video is for people you already know — a recipe for your sister, a joke for your group chat — because it disappears in a day and nobody expects it to be polished. Feed video barely exists as a separate thing any more: since Instagram unified video in 2023, a video under 15 minutes uploaded from your camera roll is treated as a Reel anyway, so choose Reel and stop worrying about it.
One practical note on length. Recording inside the Instagram camera caps you at 90 seconds, but uploading a file you already downloaded allows up to 15 minutes — so the Pinterest video’s own length is almost never the problem. What is the problem is attention: a 51-second recipe clip like the one I tested is right in the sweet spot. Clips of 30 to 60 seconds get the most plays in their first two days, and anything past three minutes needs a very good reason to exist.
The Aspect-Ratio Problem: 2:3 Pins Do Not Fit a 9:16 Reel
Here is the mismatch nobody warns you about. Most Pinterest video pins are not 9:16. Pinterest’s own recommended shape for a video pin is 2:3 — 1000 by 1500 pixels — because that is what looks good in a Pinterest feed. Instagram Reels want 9:16, 1080 by 1920. Upload a 2:3 clip as a Reel and Instagram does one of two things: it either crops the top and bottom to fill the screen, cutting off captions, faces, and the exact step you wanted to show, or it fits the whole clip inside the frame and leaves black bars above and below it, which looks unfinished and gets fewer plays.
There are three honest fixes, and which one you pick depends on the video:
- Crop to 9:16 before uploading — the best option when the action is in the middle of the frame, which is true of most recipe and DIY clips. Any free editor (CapCut, InShot, or your phone’s built-in editor) does this in under a minute: set the canvas to 9:16, drag the clip until the important part sits in the middle, export. Check the first and last three seconds after cropping, because that is where text usually lives.
- Blurred bars — keep the full 2:3 clip and let the editor fill the empty space above and below with a blurred copy of the video itself. It looks deliberate instead of broken, and nothing gets cut off. This is the right call when the video has text burned into the edges or the action fills the whole frame.
- Leave the black bars — acceptable only for a Story to close friends, where nobody cares. For a Reel, do not do this. Viewers read black bars as “this was ripped from somewhere else” and scroll past.
A related detail: Instagram keeps captions, buttons, and its own interface over the bottom fifth and the right edge of a Reel. Keep any text you add — and any text that was already in the Pinterest video — inside the central safe zone, away from the bottom where the caption sits and the right side where the like and comment buttons live. The 51-second recipe clip I tested had its creator watermark in a corner; that survived fine, but a caption sitting at the very bottom of the frame would not have.
The Length Trap: What to Do With a Long Pinterest Pin
Pinterest allows organic video pins up to 5 minutes long (ads can run to 15), and plenty of tutorials use all of it. A five-minute video is not a Reel — or rather, it is, but nobody will watch it as one. You have three options, and the right one depends on why you are posting it.
First, trim it. Most five-minute Pinterest tutorials have a real core of 45 to 90 seconds — the recipe, the before-and-after, the one trick — with a long introduction and a longer outro around it. Cut to the core, add a text overlay with the original creator’s name, and post that as the Reel. If people want the full version, the caption can say where it came from.
Second, split it into a series. A five-minute DIY guide becomes “Part 1: the cut, Part 2: the fix, Part 3: the finish” — three Reels, each under 90 seconds, each with its own hook. This is the only option that keeps all the content, and it is also the one that performs best, because a viewer who liked part one will go looking for part two.
Third, post it as a Story in segments. Instagram splits anything over 60 seconds into segments automatically, so a five-minute clip becomes five Story cards. This works for a small audience that already follows you, but Stories vanish in 24 hours, so it is a poor home for anything you want people to find later. Save the Story version to a Highlight if you go this way.
Quality: What Instagram’s Recompression Does to Your Video
Instagram re-encodes every video you upload, no matter what you send it. That is not a bug and it is not negotiable — it is how the platform keeps a billion videos playable on every phone. The practical consequence is simple: the quality of the file you start with decides the quality of the file people see. A video downloaded at 720p, like the one in my test, can look perfectly good as a Reel. A video downloaded at 360p, or a screen recording of a video, will look soft no matter what you do afterwards, because Instagram’s compression is a second round of damage on top of the first.
That is why the download step matters more than any export setting. Download the original file with PintoDownload instead of screen-recording the pin: a screen recording captures your phone’s screen at whatever brightness and resolution it happens to be at, bakes in the Pinterest interface, and usually drops frames. The direct MP4 is the file Pinterest serves — cleaner, full frame rate, no interface. If the pin offers a higher-quality version, take it; if it only offers 720p, take that and do not try to upscale it afterwards, because upscaling a 720p file to 1080p adds file size without adding detail, and Instagram will compress it anyway.
If you do edit the clip before uploading — cropping to 9:16, trimming, adding text — export it as MP4 with H.264 video and AAC audio, 1080 by 1920, 30 frames per second, at a bitrate of roughly 5,000 to 8,000 kbps. That is the export profile Instagram’s own re-encoder handles best: clean enough that its compression has detail to work with, small enough (well under the 4 GB limit) that the upload does not stall. And do not upload over a weak connection if you can avoid it — Instagram will sometimes accept a lower-quality upload and finish the processing later, and a video uploaded on one bar of signal is the one that comes out blurry.
One more honest note: Instagram does not support 4K playback for Reels. Uploading a 4K file does not make your Reel sharper than a good 1080p upload. Save the storage and the upload time.
The Sound Problem Nobody Mentions Until It Is Too Late
Here is the failure that surprises people most, because it happens after everything else worked. You download a Pinterest video, it plays with sound in your gallery, you upload it to Instagram, and the Reel posts silent. Or worse, it posts with sound for you and silent for everyone else.
The usual cause is licensed music. Pinterest videos often use songs that are licensed for Pinterest, not for Instagram. Instagram’s audio detection can mute the track, replace it, or in some regions block the Reel entirely. There is no setting that fixes this after the fact. The check is before you upload: play the downloaded file in your gallery and ask what the audio actually is. If it is the creator talking, or natural sound — a pan sizzling, a drill, waves — it will almost always survive. If it is a recognisable commercial song, expect trouble.
If the music is the problem, you have two clean options. Replace the audio with a track from Instagram’s own music library when you create the Reel — Instagram licenses those for Instagram, so they stay. Or mute the original audio and add your own voiceover explaining what is happening in the clip, which has the side benefit of making the Reel yours rather than a straight repost. What you should not do is upload it anyway and hope nobody notices: a muted Reel gets almost no reach, and a blocked one wastes the whole effort.
The Copyright Line, Stated Plainly
Downloading a video for yourself is one thing. Posting it on Instagram is another, and the difference matters. A video on Pinterest belongs to whoever made it. Saving it to your phone to watch offline, show your mum, or keep for a project is personal use, and that is what this guide is for. Uploading it to your Instagram account as if it were your content is republication, and it is not made legal by adding credit, tagging the creator, or writing “not my video” in the caption. Credit is polite; it is not permission.
What Instagram does about it is practical, not theoretical. Creators and rights holders can report a repost, and Instagram can take the Reel down, mute it, or restrict the account that posted it. Repeated reposts are the fastest way to get an account limited. The safe way to post someone else’s Pinterest video is to have the creator’s permission — a message, a comment, a yes in writing — or to post only your own videos: the recipe you filmed, the DIY you did, the trip you took. If you are reposting, say so clearly in the caption, link back to the original pin, and keep the creator’s watermark visible. If you want the full legal picture, I wrote a separate guide on whether downloading Pinterest videos is legal — read it before you build a habit out of reposting.
The rule I use: if I would be annoyed to find my own video posted on someone else’s account without being asked, I do not do it to someone else. Personal use, yes. Reposting, only with permission. Everything in this guide works the same either way — the download, the crop, the upload — so the honest version costs you nothing.
Instagram vs Facebook vs WhatsApp vs Telegram: Where Should the Video Go?
This is the eighth guide in the “Save to X” series on this site, and the question I get most often is which destination is actually best for a given video. They are not interchangeable — the same 51-second recipe clip behaves differently in each place, because each app has different limits, a different audience, and a different shelf life.
| Destination | Best for | Max length | Who sees it | Stays up? |
|---|---|---|---|---|
| Instagram Reel | Reaching strangers, growing an audience | 15 min uploaded | Followers + Explore | Permanent |
| Instagram Story | Quick share to people you know | 60 sec per segment | Followers only | 24 hours |
| Facebook Reel / feed | Family, older relatives, groups | 15 min / up to 4 hours feed | Friends, groups, Pages | Permanent |
| One person or a small group, privately | Status: 60 sec per clip; chat: no practical limit | Your contacts | Chat: yes; Status: 24 hours | |
| Telegram | Large files, keeping the original quality | 2 GB file limit | Your chats / channels | Permanent, in the cloud |
The short version: Instagram is where a video finds new people. Facebook is where it finds your family. WhatsApp is where it finds one person, privately, right now. Telegram is where you keep the file itself, because it does not recompress it the way the others do. If you only pick one, pick the audience, not the app — the download step is identical for all of them, so you can send the same file to three places in the time it takes to upload it to one.
I have written the same step-by-step for each destination: Facebook, WhatsApp, and Telegram, plus the storage guides for Google Drive and iCloud if you want to keep the original file before you post it anywhere.
Troubleshooting: When It Does Not Work
| Problem | Likely cause | Fix |
|---|---|---|
| “No video found on this Pinterest post” | The tool failed to read the pin on the first attempt — it happened to me this morning | Paste the exact same link and try again; the retry worked immediately |
| Download button opens the video in a new tab instead of downloading | That is how the tool works — the button links to the MP4 itself | Long-press the playing video (phone) or right-click and choose “Save video as” (computer) |
| Video is in Downloads / Files, not in Photos | iPhone browser downloads go to Files, not Photos | Open Files > Downloads, tap the file, Share > Save Video |
| Instagram says the video is too long for a Reel | You are recording in-app (90-second cap) instead of uploading a file | Upload from the camera roll — uploads allow up to 15 minutes |
| Reel posts with no sound | Licensed music in the original Pinterest video | Replace the audio with a track from Instagram’s music library, or add a voiceover |
| Video looks blurry after upload | Low-quality source, or uploaded on a weak connection | Download the original MP4 (not a screen recording), export at 1080×1920, upload on Wi-Fi |
| Top or bottom of the video is cut off | 2:3 Pinterest clip cropped to 9:16 by Instagram | Crop it yourself to 9:16 first, or use blurred bars so nothing is cut |
| Story cuts the video off at 60 seconds | Stories are 60 seconds per segment by design | Let Instagram split it, or post as a Reel instead |
| The pin is a photo, not a video | Some pins look like videos but are still images | Use the pin menu’s “Download image” option, or the Pinterest image downloader |
| Nothing downloads at all | Private board, deleted pin, or a pin that links to another site | Only public pins with the video hosted on Pinterest work — see the full fixes guide |
Frequently Asked Questions
Can I save Pinterest videos to Instagram directly?
No — there is no direct button or share option that moves a video from Pinterest to Instagram. You have to download the video file first (copy the pin link, download the MP4 with a tool like PintoDownload), save it to your camera roll, and then upload it to Instagram as a Reel or Story. The whole process takes about five minutes the first time and under two minutes after that.
Is it free to save Pinterest videos to Instagram?
Yes. Downloading the MP4 with PintoDownload is free with no signup, and uploading a Reel or Story to Instagram is free. There is no paid step anywhere in the process, and you should be suspicious of any tool that asks you to pay or log in with your Pinterest password to download a public video.
What size should a Pinterest video be for an Instagram Reel?
1080 by 1920 pixels, 9:16 vertical, MP4 with H.264 video and AAC audio, 30 frames per second. Most Pinterest videos are 2:3 (1000 by 1500), so crop them to 9:16 or add blurred bars before uploading, or Instagram will crop them for you — usually in the wrong place.
How long can a Pinterest video be on Instagram?
A Reel uploaded from your camera roll can run up to 15 minutes. A Story is limited to 60 seconds per segment, and Instagram splits longer videos automatically. Recording inside the Instagram app caps at 90 seconds, so always upload the downloaded file instead of re-recording it.
Will the video lose quality when I post it on Instagram?
Some, yes — Instagram recompresses every upload. How much you lose depends on the file you start with. A direct MP4 download at 720p or better holds up well as a Reel. A screen recording of the same pin will look noticeably softer, because it has already been compressed once before Instagram compresses it again. Start with the original file, export at 1080×1920 if you edit it, and upload on Wi-Fi.
Can I post someone else’s Pinterest video on my Instagram?
Only with the creator’s permission. Downloading a video for your own viewing is personal use; uploading it to your account is republication, and adding credit or writing “not my video” does not make it legal. Instagram can remove reposted Reels and restrict accounts that do it repeatedly. If you want to share someone else’s work, ask first, credit them, and keep their watermark visible.
Why does my Pinterest video have no sound on Instagram?
Usually licensed music. Pinterest videos often use songs licensed for Pinterest, and Instagram’s audio detection can mute or replace the track when you upload. If the audio is the creator talking or natural sound, it normally survives. If it is a commercial song, replace it with a track from Instagram’s music library or add your own voiceover before posting.
The Bottom Line
To save Pinterest videos to Instagram, the process is three moves — copy the link, download the MP4, upload it as a Reel — and the only parts that need thought are the ones this guide spent the most time on: pick the Reel before you upload, fix the 2:3-to-9:16 shape before Instagram fixes it for you, and check the audio before you post. I ran the whole thing this morning with a real 51-second recipe pin: one failed first attempt, a retry that worked in 15 seconds, a clean 720p MP4, no pop-ups, no signup, no watermark. That is the honest version of the process, including the hiccup. Do it that way, and the video your friend actually watches will be the video you meant to send — not a cropped, silent, blurry copy of it. And if the video is someone else’s work, ask before you post it. The download is free either way; the permission is what makes it right.
Want the same walkthrough for the other places your videos end up? Start with saving Pinterest videos to Facebook, or keep the original file safe first with the gallery guide — and if a download ever refuses to work at all, the fixes guide covers the ten failures people actually hit.